Microsoft Photos is the free photo viewer and editor for Windows 10. With the new version of the Photos app, you can make a video slideshow with images, add background music and 3D effects to videos. Background music makes your video more interesting and dynamic, and it takes your video to the next level. The Photos app allows you to add AAC, ADTS, MP3, M4A, WAV, and WMA files as background music, but if you want to add an Apple Music song, you will get an error message. Adding Apple Music to the Photos app is not as direct as you think. Since Apple Music songs are in M4P format, which is protected by Apple’s FairPlay DRM, and you can only play them on authorized devices with the Apple Music app. To add your favorite Apple Music songs to Windows 10 Photos as background music, you should download Apple Music to a more common format, then you can add those songs to any device. At this point, a professional Apple Music downloader is necessary, so we strongly recommend Pazu Apple Music Converter.

Pazu Apple Music Converter allows you to download any songs, playlist from Apple Music to MP3, AAC, M4A, WAV, AIFF, or FLAC without installing iTunes or Music app. It also supports keeping original audio quality and all ID3 tags. Now, read the steps below to download your Apple Music songs in a common format and add them to Windows 10 Photos as background music.

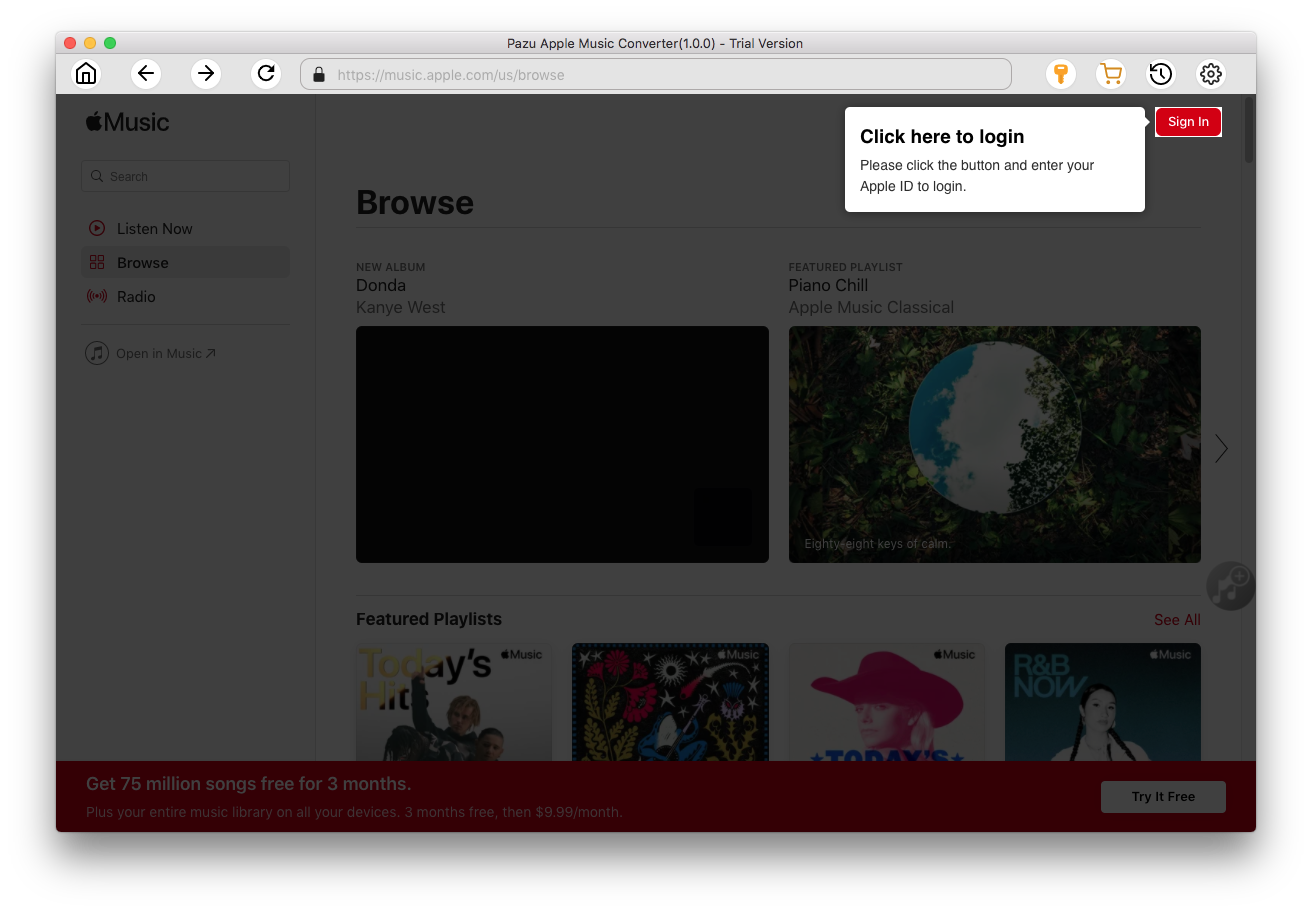
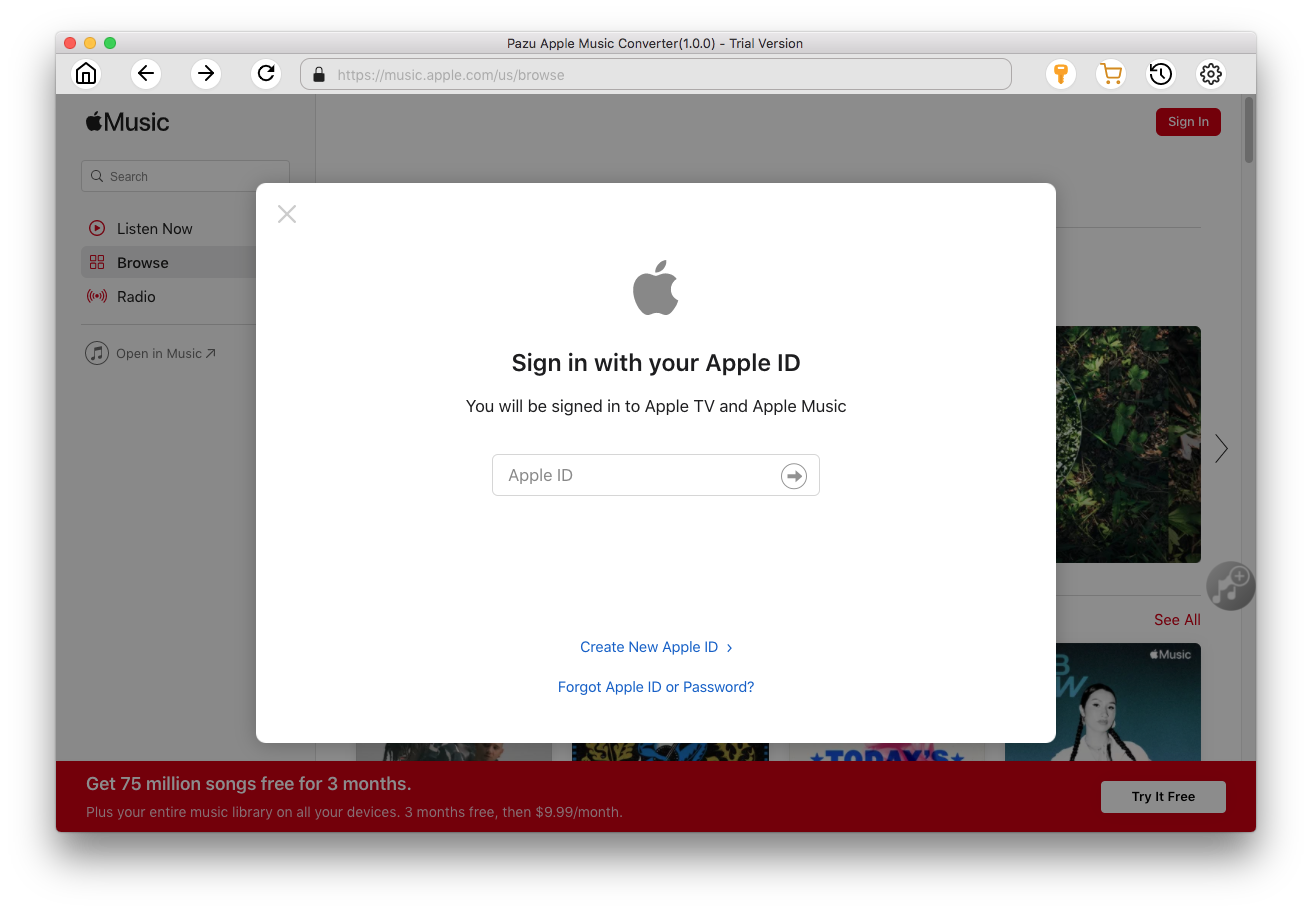
Download, install and run Pazu Apple Music Converter on your Mac or Windows. Click the Sign In button to open the login page, and enter your Apple ID info to let Pazu Apple Music Converter load your Apple Music library.
Click
 icon on the top right corner of the program. On the settings window, you can select the output format, audio quality, output folder, and language. You can select MP3, M4A, AAC, or WAV as the output format.

Here you can also customize song name format with any combination of Playlist Index, Track Number, Title, Artist and Album.

Or set Pazu Apple Music Converter to archive output song with Artist, Album, Artist/Album or Album/Artist.

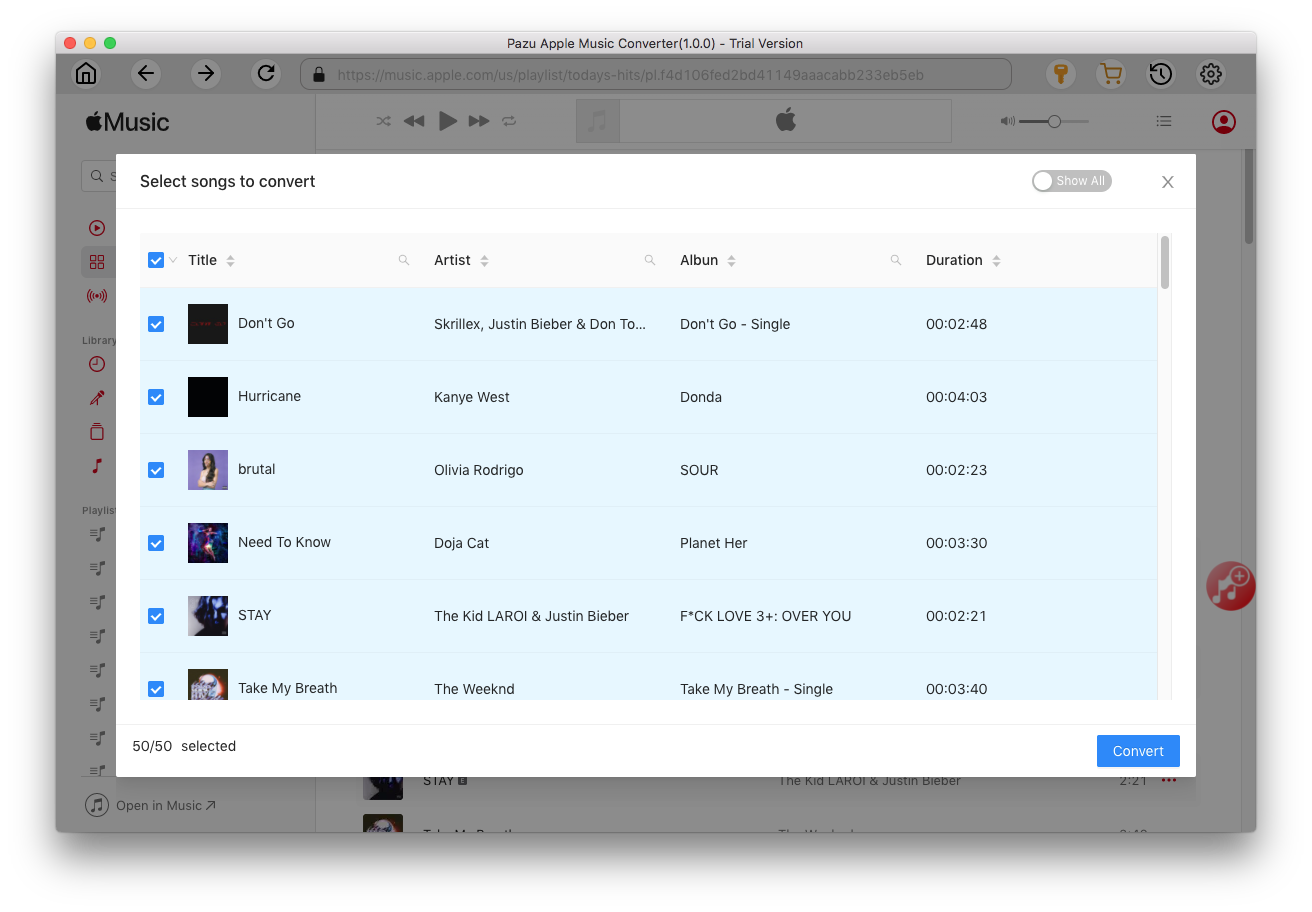
Choose a playlist/artist/album, and click the red Add button to open the converting window. From the pop-up converting window, you can select the songs you want to download.


All songs in the playlist or album are selected by default. Uncheck the songs you don't want to download if there are any, then click Convert button.
Click the Convert button to start downloading Apple Music songs in a common format. After downloading, click the History icon to find all converted Apple Music songs.

After conversion, click
 to quickly locate the DRM-free Apple Music songs.

Once conversion finishes, you can find all converted songs by clicking
 button at the top right of the window. You can check them by converted date, artist or album.

Step 1 Launch the Photos app, click on the New video option followed by New video project.

Step 2 Click on the Add button to add photos and videos.

Step 3 Choose the Background music option and select the converted Apple Music songs from the output folder.

Finally, click on the Export video option to save it.


Download Apple Music to MP3, M4A, etc.