iTunes app allows you to burn a CD from the music that you have purchased. But when you made a playlist that includes Apple Music songs and iTunes songs you already purchased, you will get a warning saying that some songs can not be burned because they are from Apple Music. It seems that Apple Music is a paid streaming service, you do not own the music you download or listen to. If you want to burn them to CD, you should purchase the songs from iTunes Store, creating a playlist, and then burning them to a CD.

Apple adds DRM to all Apple Music. The result is you are not able to burn the protected M4P format songs onto a CD. If you are an Apple Music subscriber, and you do not want to purchase the songs from iTunes Store, you need a specialized Apple Music converter to remove DRM from Apple Music and convert them to MP3 format. We would like to introduce Pazusoft Apple Music Converter to you.
Pazusoft Apple Music Converter will help you remove DRM from Apple Music and convert Apple Music to common audio formats with the original audio quality and all ID3 tags kept. It works at a very fast speed and supports multiple formats, including MP3, M4A, AAC, FLAC, AIFF, etc. You can follow the detailed tutorial below to learn how to burn Apple Music songs to CD with Pazusoft Apple Music Converter.
Download Apple Music songs/albums/playlists to MP3, M4A, etc.
Here's how to download songs, albums and playlists from Apple Music to MP3.
Download, install and run Pazu Apple Music Converter on your Mac or Windows.
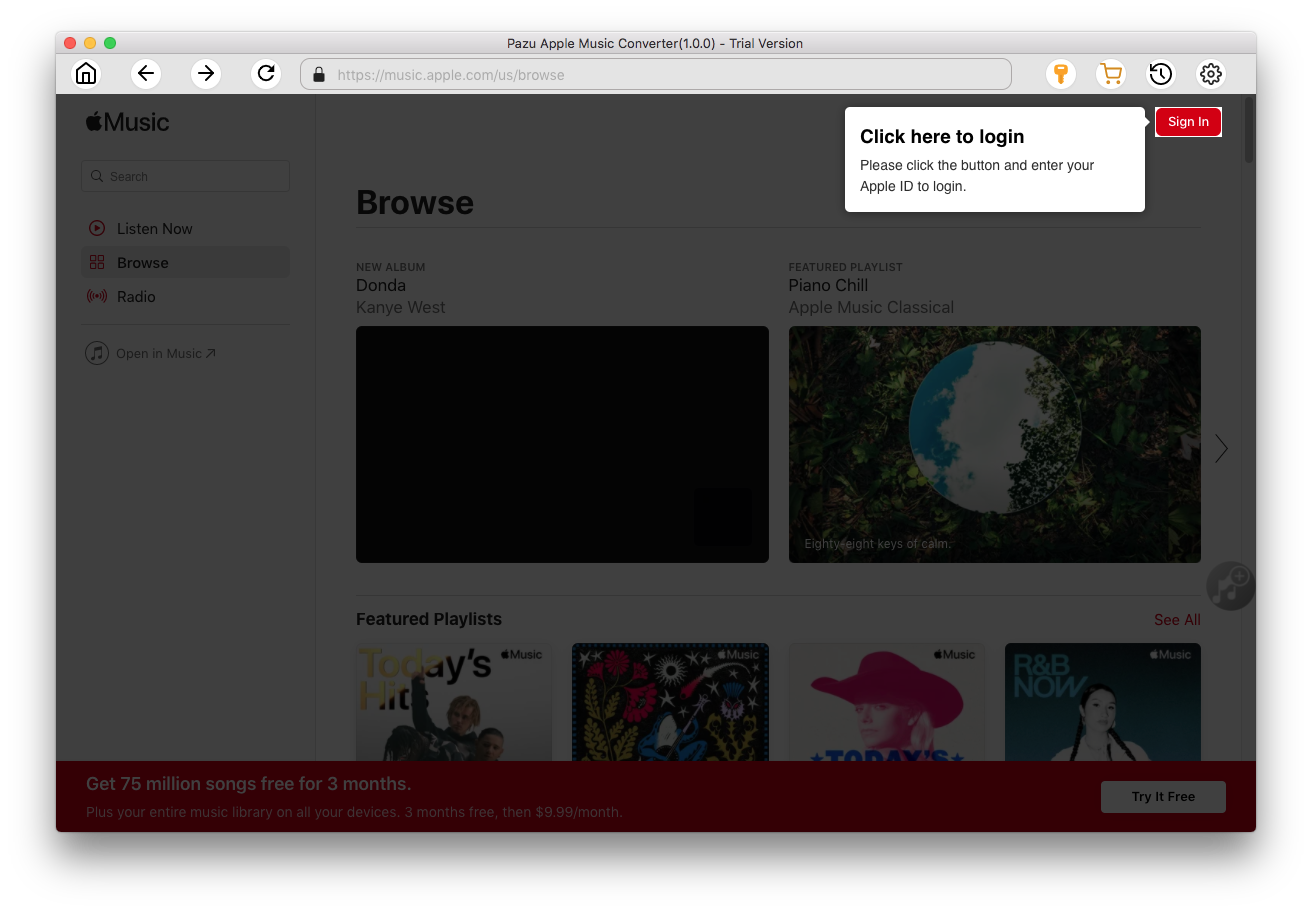
Click the key icon to activate the full version if you have purchased a license, otherwise you can only use the trial version.

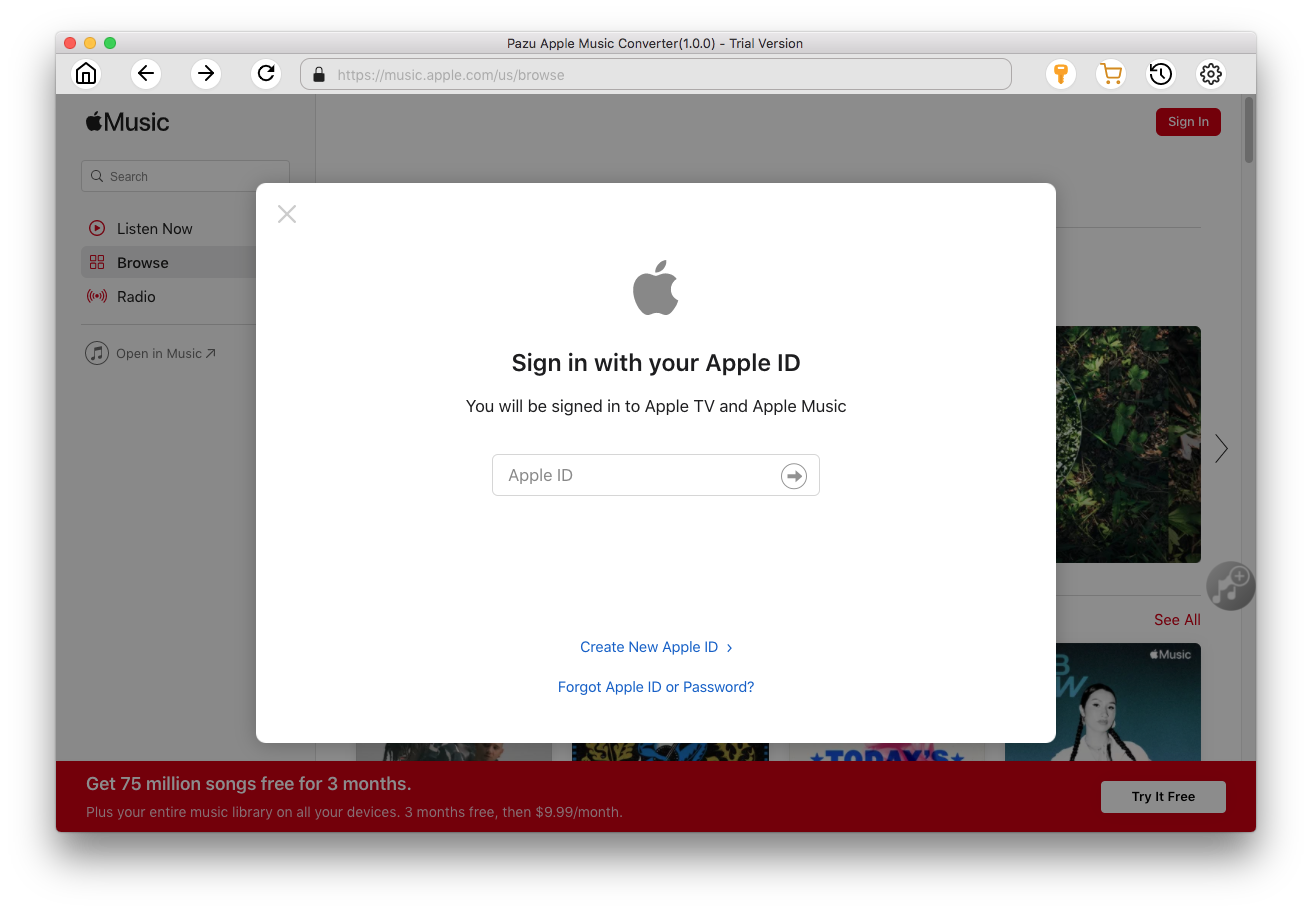
Follow the on-screen instructions to sign in with your Apple ID.
The default format is M4A in 256kbps. Apple Music Converter also supports MP3, AAC, FLAC, WAV and AIFF. Click
 icon if you want to change output format or output folder.

Here you can also customize song name format with any combination of Playlist Index, Track Number, Title, Artist and Album.

Or set Pazu Apple Music Converter to archive output song with Artist, Album, Artist/Album or Album/Artist.

Follow the instructions to choose a playlist, artist, or album that you want to download.
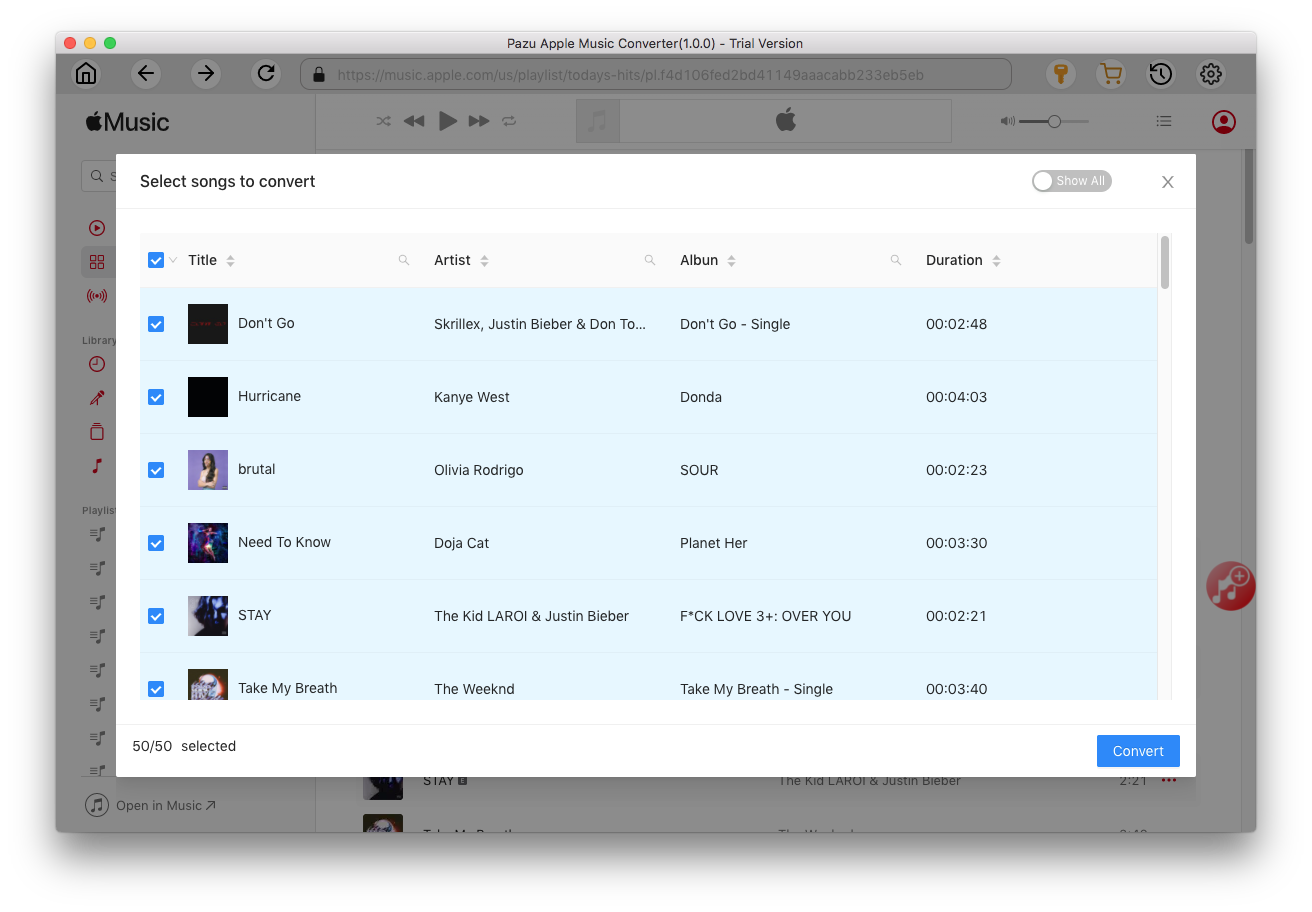
Click the Add button to select songs for converting.

All songs in the playlist or album are selected by default. Uncheck the songs you don't want to download if there are any, then click Convert button.
If you are using the trial version, you will get below pop-up window indicating trial version limitations, just click Try if you haven't purchased a license.
The songs you selected will be downloaded to the format you want.
After conversion, click
 to quickly locate the DRM-free Apple Music songs.
Click
 to view all downloaded songs. You can check them by converted date, artist or album.
After converting, you can find all converted DRM free Apple Music songs on the output folder.


Download Apple Music to MP3, M4A, etc.